Tour de Fleece is going on at the moment. In case you’re not familiar with this fun event, it occurs during the Tour de France. It is a spinning related fiber event where makers enjoy spinning along with the cyclists during July.
I recently saw this post from the amazing Jillian Moreno about storage bobbins on the Schacht Spindle blog. I participated in Tour de Fleece in 2016 and spun this fun woolen spun Romney project.
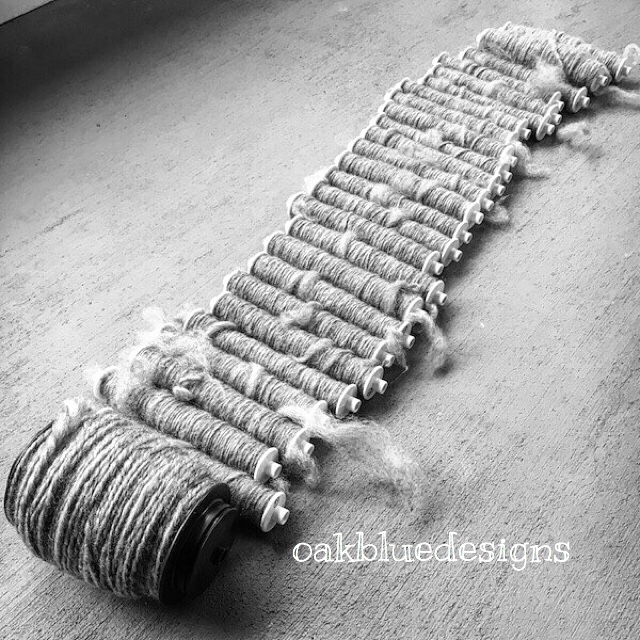

As you can see from the photo, having storage bobbins made the spin much more cost effective (with the large quantity of yarn that was spun). I have quite appreciated all of the benefits with utilizing storage bobbins that Jillian has mentioned in the previously mentioned blog post.
I have not yet invested in a traditional bobbin winder. I thought I’d share in this post how I’ve converted my drill into a storage bobbin winder.
What you’ll need:
- A power drill (I have an 18V drill)
- (2) 5/16″ – 18 Zinc Hex Nuts
- (2) 5/16″ x 1 1/4 Zinc Flat Washers
- (1) 5/16″ – 18 x 1 foot All Thread
- A Lazy Kate (pictured is the Akerkate from Akerworks)
- 6″ Schacht weaving storage bobbin
- One spinning wheel bobbin with spun fiber (to transfer onto the storage bobbin)

For this project I needed to purchase 3 items from the hardware store (two flat washers, two hex nuts and one all thread). As I was looking online to link the hardware (for reference) I found that the in-store pricing for me was DRASTICALLY cheaper then the online pricing. Just something to keep in mind (you may want to go to your local hardware store vs purchasing items online for this project).
My total hardware cost (pricing may vary): $1.72
Directions:
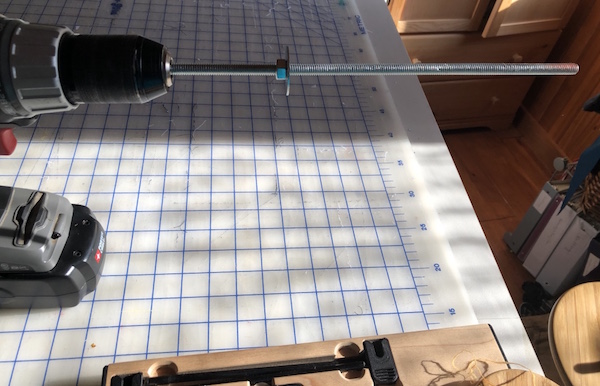
- Attach the All Thread into the drill.
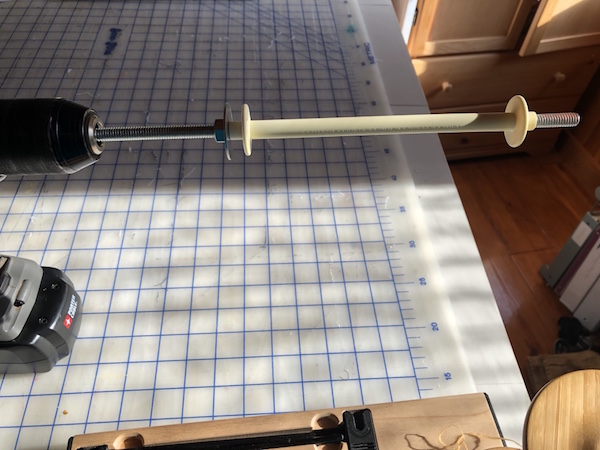
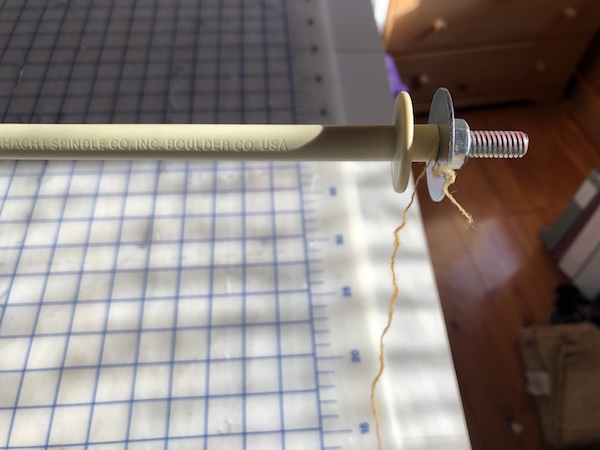
2. Thread one hex nut and one washer onto the All Thread.
3. Place the storage bobbin onto the All Thread.
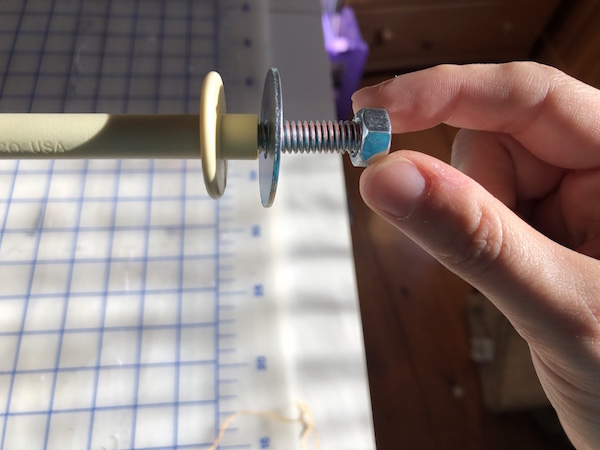
4. Place one washer against the storage bobbin and attach one hex nut on the end of the All Thread.
5. Loop the end of the spun singles around the All Thread, in between the flat washer and storage bobbin.

6. Hold the singles in place (in between the washer and storage bobbin) by gently tightening the hex nut, by hand.
7. Start the drill and move the singles with your hand to wrap the fiber around the storage bobbin.

8. Move your hand back and forth across the storage bobbin to direct the singles fiber onto the storage bobbin.
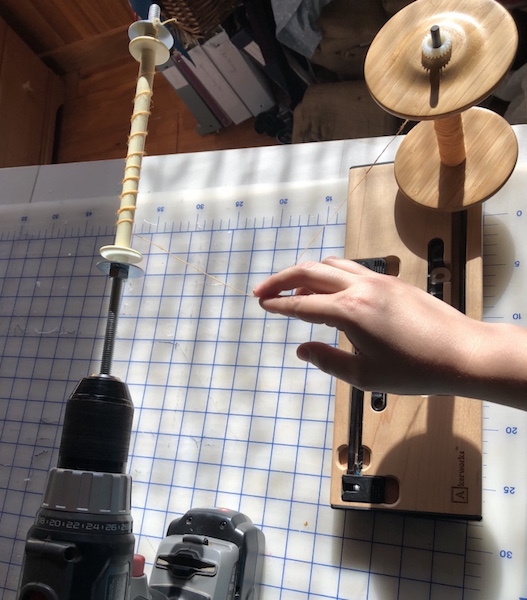
9. If you want to move your hand slowly, you can meticulously move the fiber onto the bobbin to maximize the placement of the fiber onto the storage bobbin (as you do when moving fiber along the flyer hooks, as you spin).

For this sample I had quite a small amount of singles to move off the wheel bobbin so I moved the singles quite quickly back and forth as I wound onto the storage bobbin.

10. Once the fiber has been transferred onto the storage bobbin, you are done! If you had a larger amount of fiber to transfer (larger then 25g), you will need multiple storage bobbins.

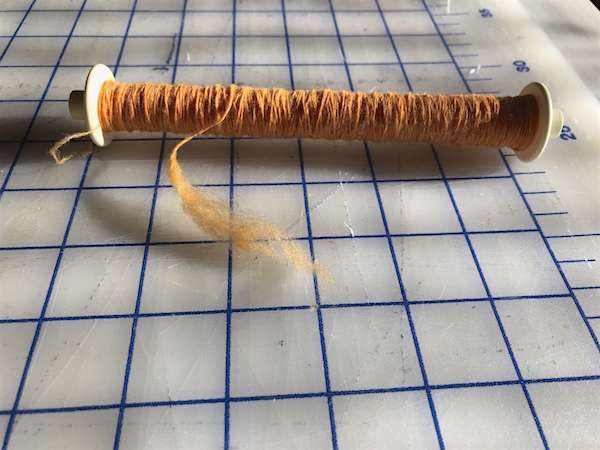
For larger projects I find that I can get around 25g on each storage bobbin. When transferring finer singles onto a storage bobbin you may need to take a break as you are winding onto the storage bobbins (to not overheat the drill). As you can see from the photos, I’ve found utilizing my drill quite a useful tool to utilize what I had on hand.
Happy spinning to you!


One thought on “Tutorial: DIY Storage Bobbin Winder with a Drill”