I had the honor of pattern testing the Chickenboots Project Bag before it was released.
This fun bag design was previously a finished product, sold by a shop called Chickenboots. The shop closed and now Sew Sew Live (the same designer) is offering the Project Bag design as a sewing pattern. It’s really exciting as you can customize the design with your own fabrics and make as many bags as you would like.
Pattern Description:
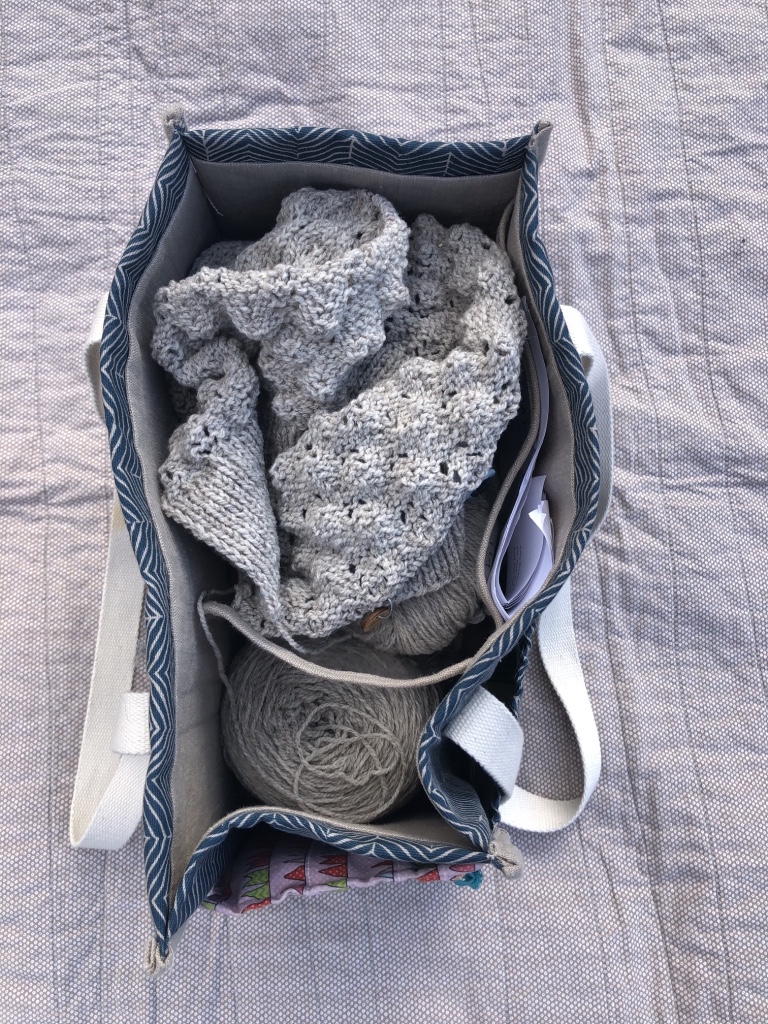
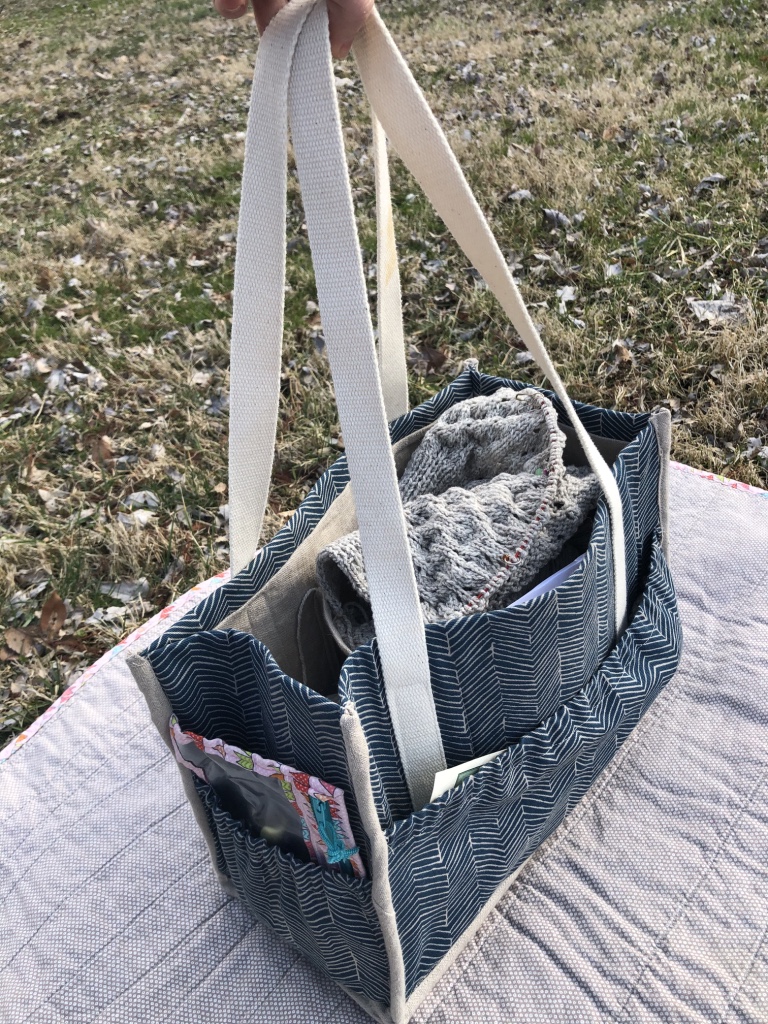
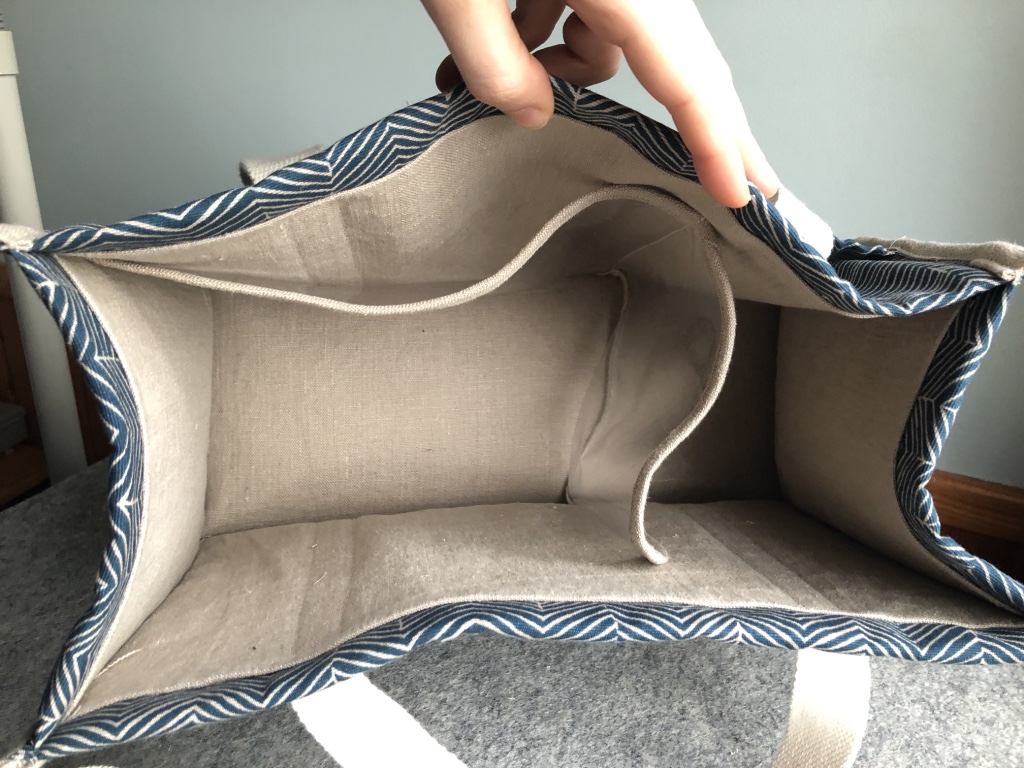
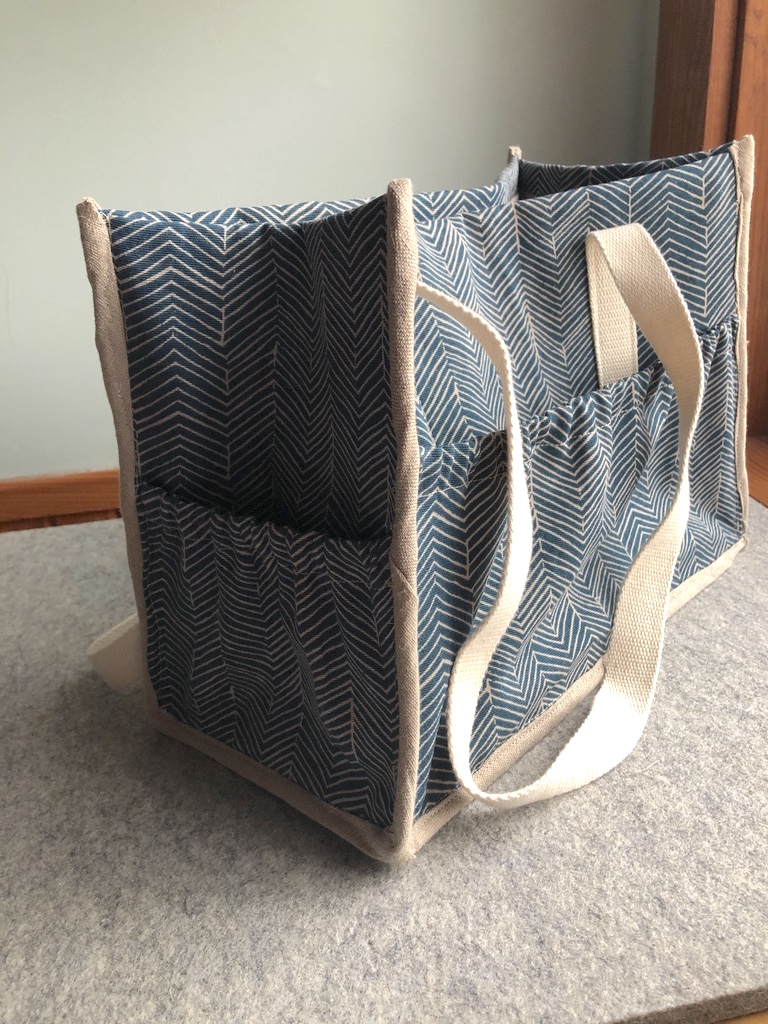
This simplicity of this bag design is what makes it so functional and successful, while still being full of features: STANDS UPRIGHT, STRAPS FIT OVER SHOULDER, DIVIDED INTERIOR, THREE POCKETS
Pattern Sizing: One size, 13″ long, 9.5″ tall, 6″ wide
Did it look like the photo/drawing when you finished sewing? Yes
Were the instructions complete and easy to follow? Yes. One note to add here is that a video comes included with the pattern instructions. The video is EXTREMELY helpful as you essentially get a sew-a-long to make the bag with the designer. She includes tips and notes in the video that are super helpful. I HIGHLY recommend downloading the video with the pattern and referencing it along with the written instructions.

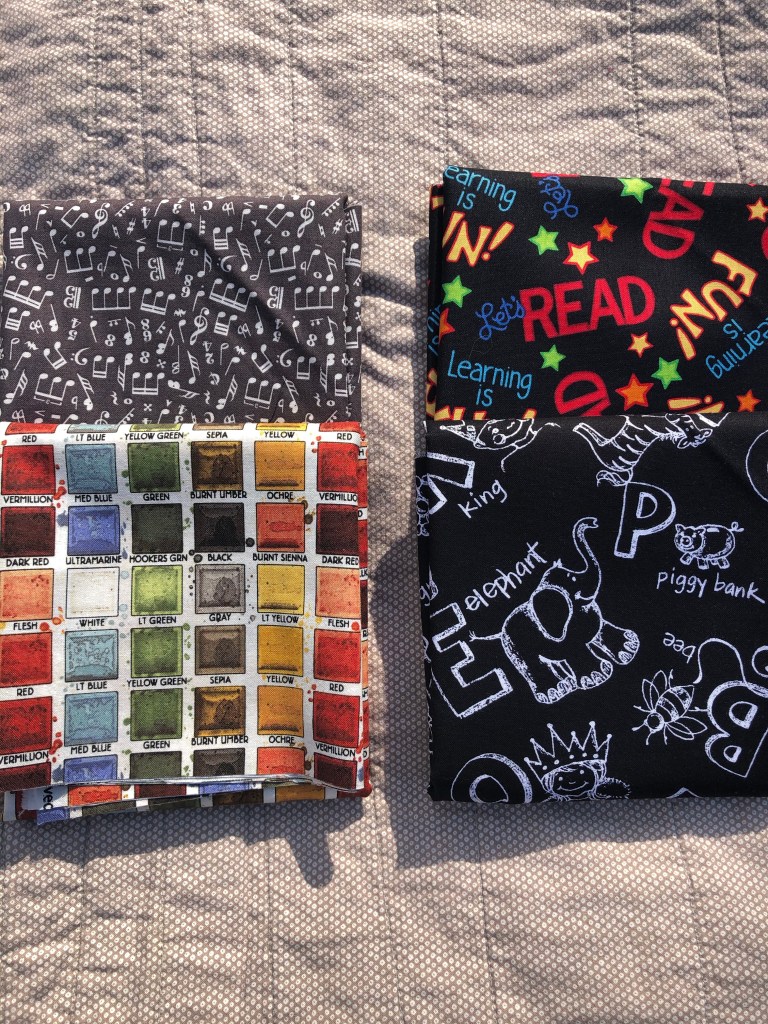
Fabric used (did you use the suggested fabrics in the pattern)? Both fabrics that I selected were purchased from IKEA. For the outer fabric I used a lightweight canvas fabric. The lining fabric is a matching linen. For the bias tape, I made some from the linen fabric (referencing Sew Sew Live’s suggested video for a very quick way to make bias tape).
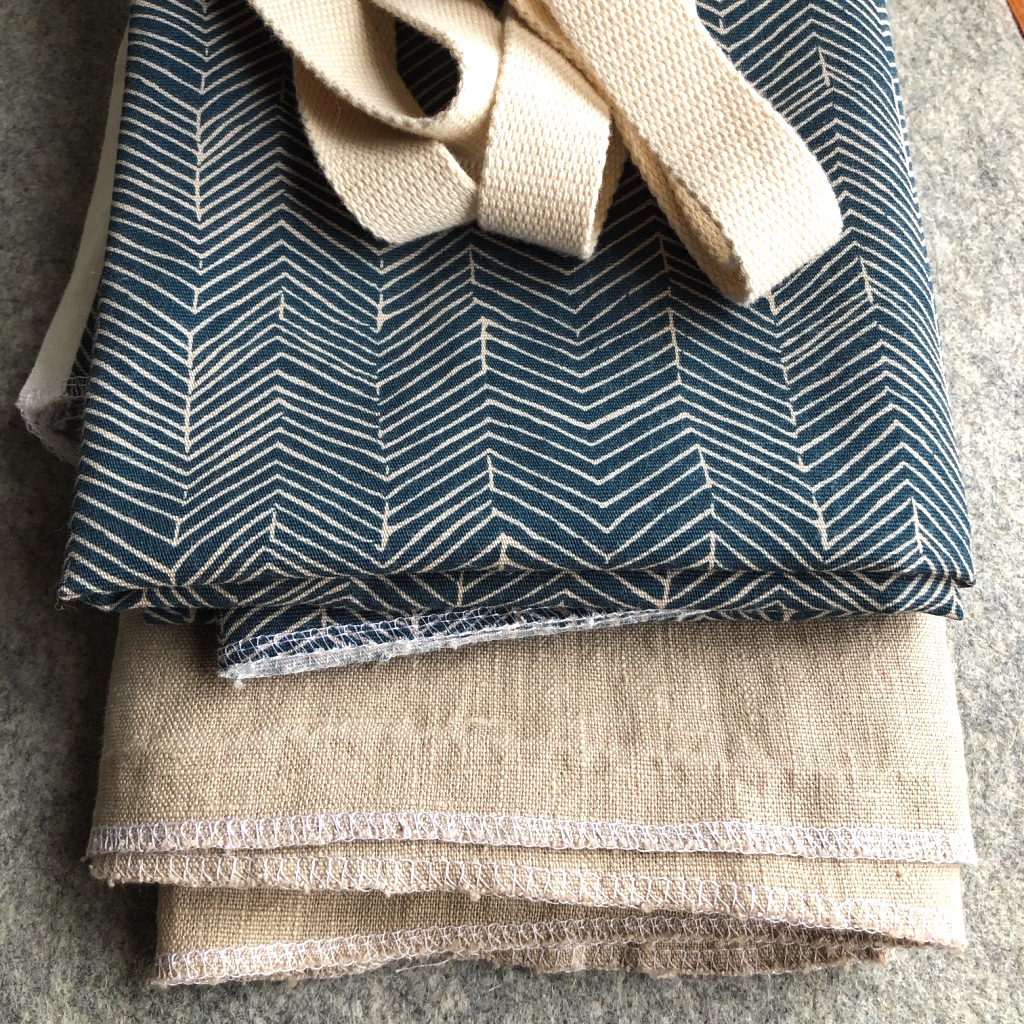
For the straps I used cotton webbing. I pre-washed the cotton webbing along with the fabric. I found that it shrank 1″ after washing and drying. This resulted in a final length that was shorter then the suggested 2.5 yards. I felt the slight length difference was not a problem.
For the stiffener, I used a 70 Peltex Sew-In Ultra Firm Stabilizer from Pellon. This was my first time using a sew-in stabilizer vs an iron-on stabilizer. A sew-in stabilizer was recommended in the pattern so I wanted to give it a try. I really liked it! Sewing vs ironing the stabilizer saved me lots of time!
Did you alter the pattern in any way? Yes. In the pattern, 3/8″ braided elastic is suggested to be used along the small outer side pocket (along the top edge). I also added 3/8″ elastic to the top of the longer, outer pocket as well.
Was there anything you disliked or would change? No. Admittedly, I was in the pattern test group so I gave suggested feedback in that venue.
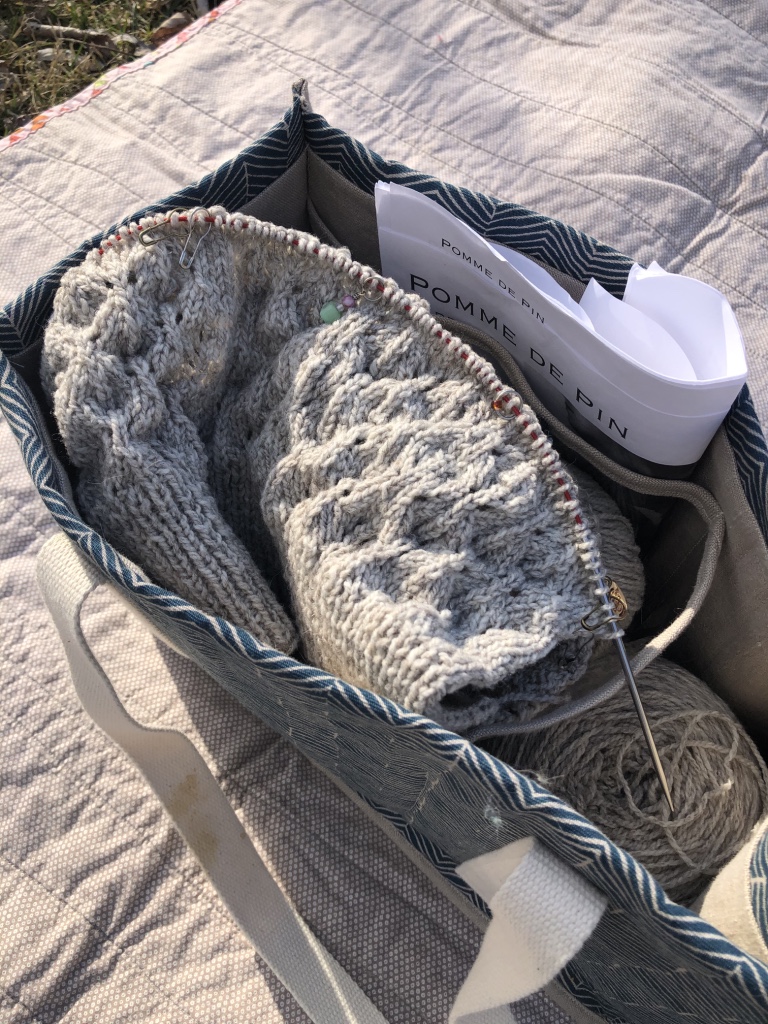
Would you sew it again? Yes! I’ve used this bag a lot. Although I am a knitter, this bag can be used in many different applications.
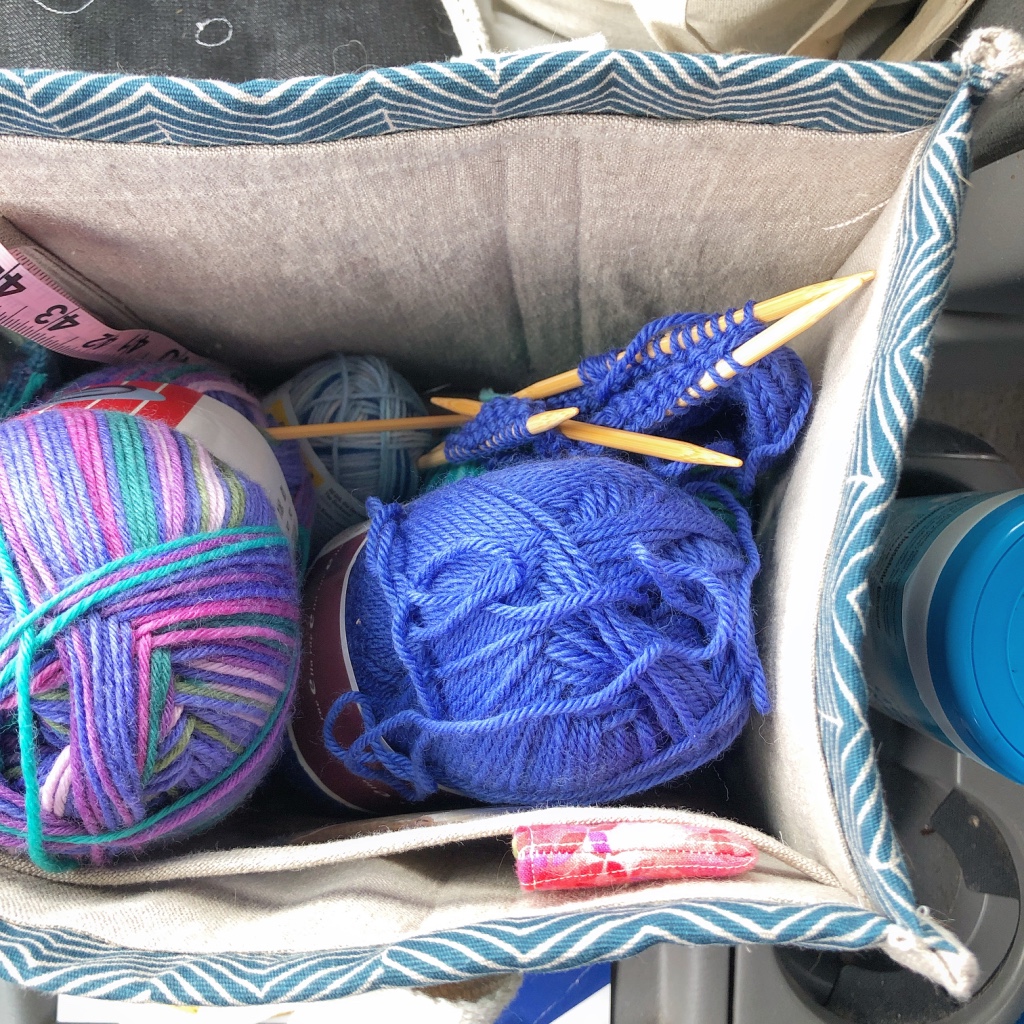
I have to share, I have this old thirty-one bag that we bought years ago and it’s wearing out. The lining has been cracking and breaking apart, the seams are coming undone, etc. We’ve used this bag as a snack bag in our van for road trips with the kids. I’m excited to finally throw this bag away and replace it by sewing up a new CB Project bag.
Would you recommend it to others? Absolutely! The finished bag is so handy to make for yourself or for gifts. I’m going to use this pattern again to make two teacher gifts before the end of the school year.
Do you consider the pattern beginner/intermediate/advanced? Intermediate or Advanced Beginner. If vinyl is used along the divider, the project includes sewing binding on vinyl. Sewing the binding along the four outer corners may be too advanced for a beginner (but if you’re an adventurous beginner, go for it).
Does the pattern include layers for easy printing? N/A. The pattern includes one size so layers are not applicable for this pattern.
Seam allowances used in the pattern: 1/4″ seam allowance is included
Is the pattern cut or no cut pages? Cut pages
Depending on which materials you use to make the bag, there can be a bit of a learning curve for the final step of sewing the binding around the four corner edges. I found the materials that I used were more difficult for the last step. In hind site, I wouldn’t recommend using linen for a bias binding (the first time you make this bag).
For the strap application, I stuck sewing pins through the straps, into the stabilizer to hold the straps in place before sewing.

I already have two sets of fabrics planned to make two Project Bags as teacher gifts at the end of this school year.
I highly recommend this pattern, go check it out!